Sign Up For Multiple Users through Self-Service
Go to the pricing page on the SchemeFlow website www.schemeflow.com/pricing and select the options you want, then proceed to checkout.
On the right hand side, fill in your email address, name, organization name, and credit card details. Then click Pay and subscribe at the bottom.
After checkout, you will be redirected to the SchemeFlow website. On this page, click the orange button at the bottom that reads Add SchemeFlow to Word.

This should open a Microsoft Word document for you, and prompt you to install the SchemeFlow US add-in.
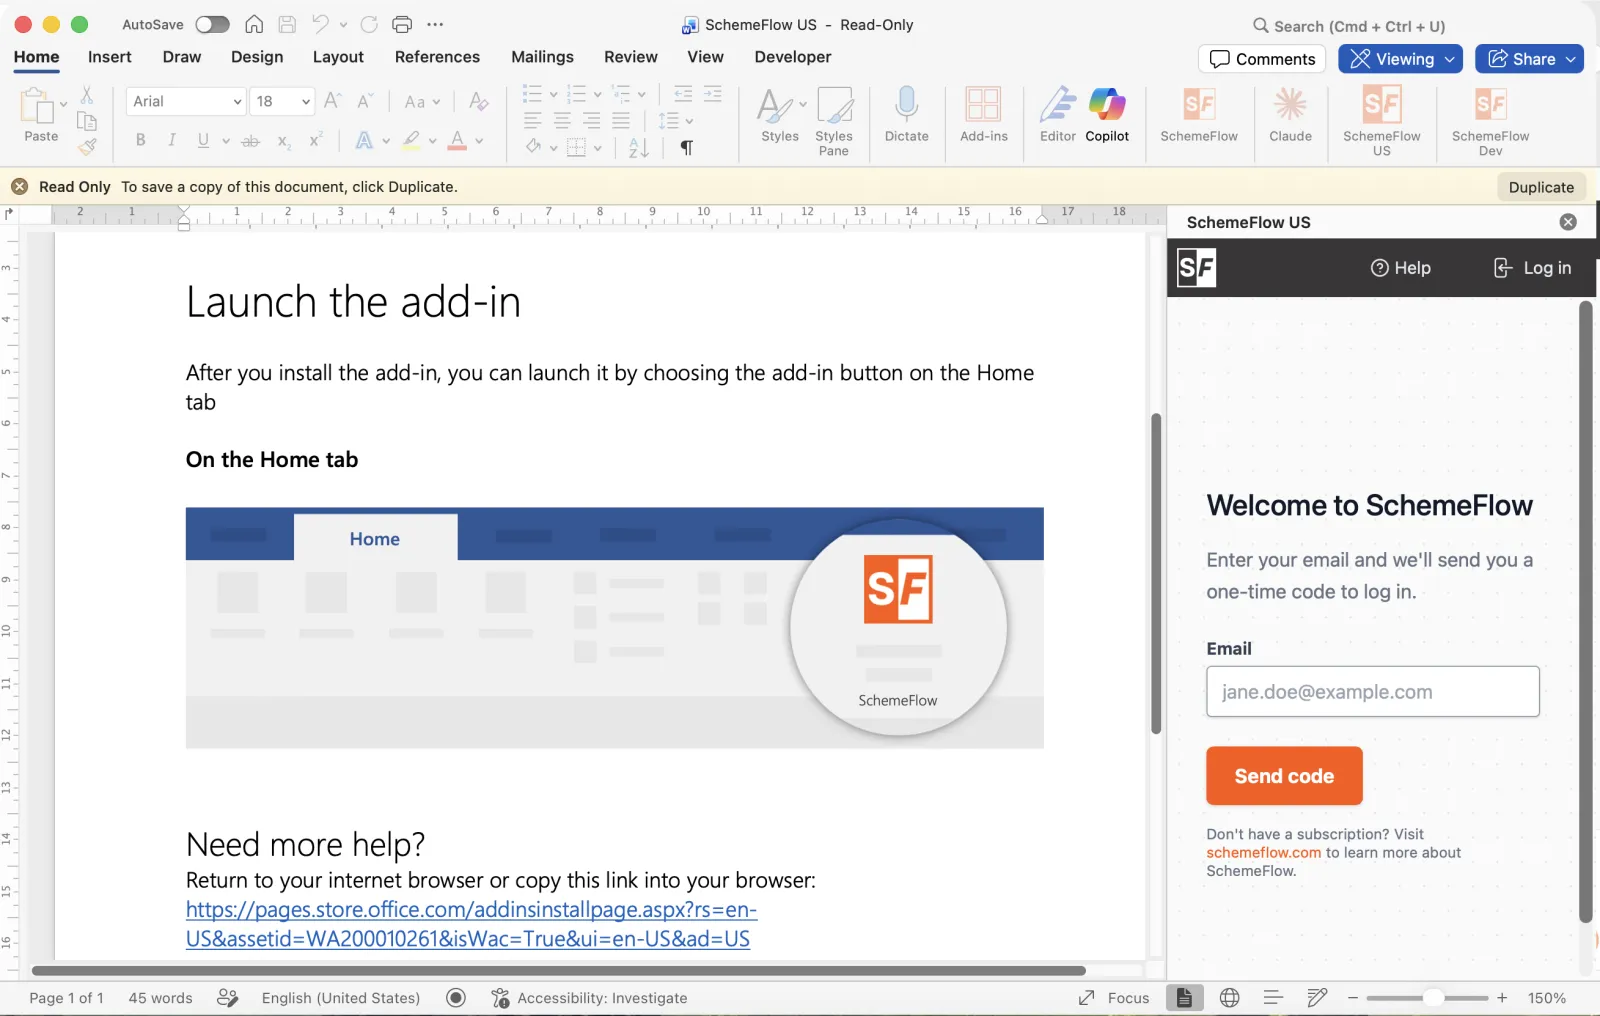
Once you've installed the add-in, you should see SchemeFlow US on the Home tab of Microsoft Word. Click it to open the SchemeFlow sidebar.
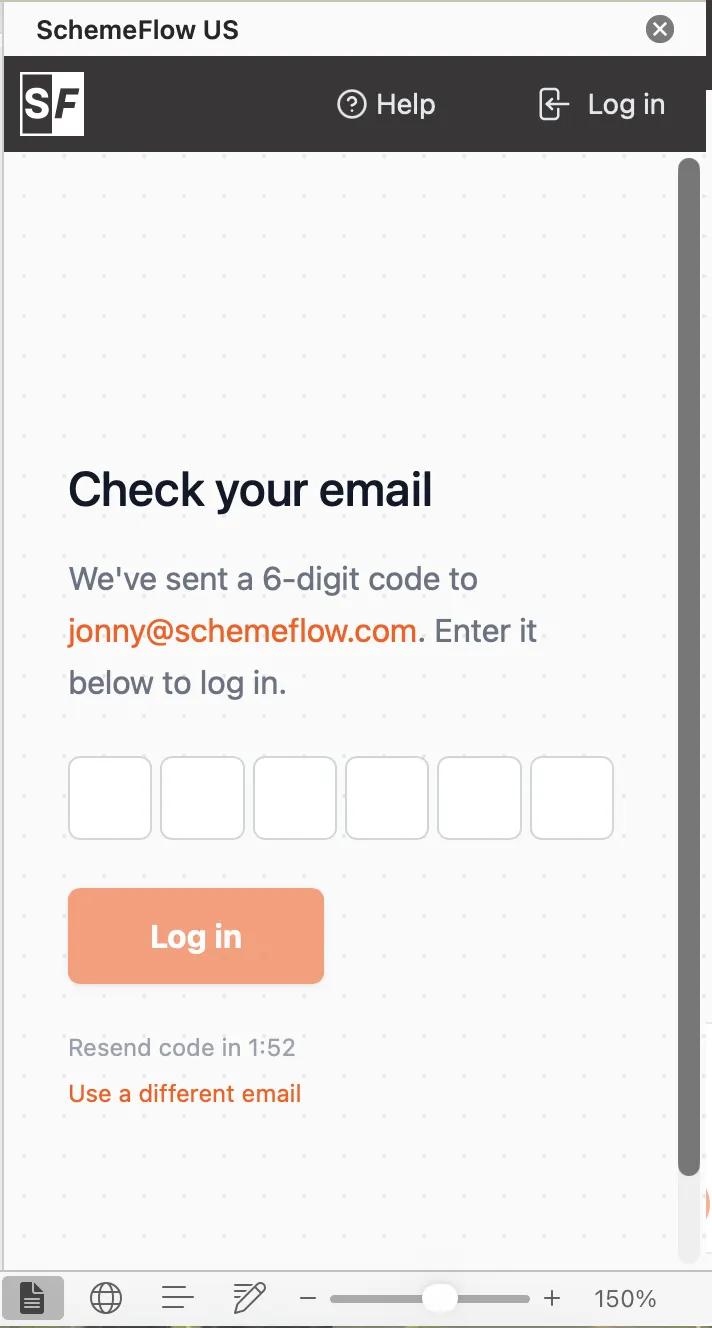
- Enter your email address into the sidebar and click Send code. This will send a 6-digit code to your email address that you can use to log in. Paste this code into the next screen and click Log in.
Once you've logged into SchemeFlow, hover over the initials icon in the top right corner, and choose Settings from the dropdown menu.
In your web browser, you should see the User Management page.
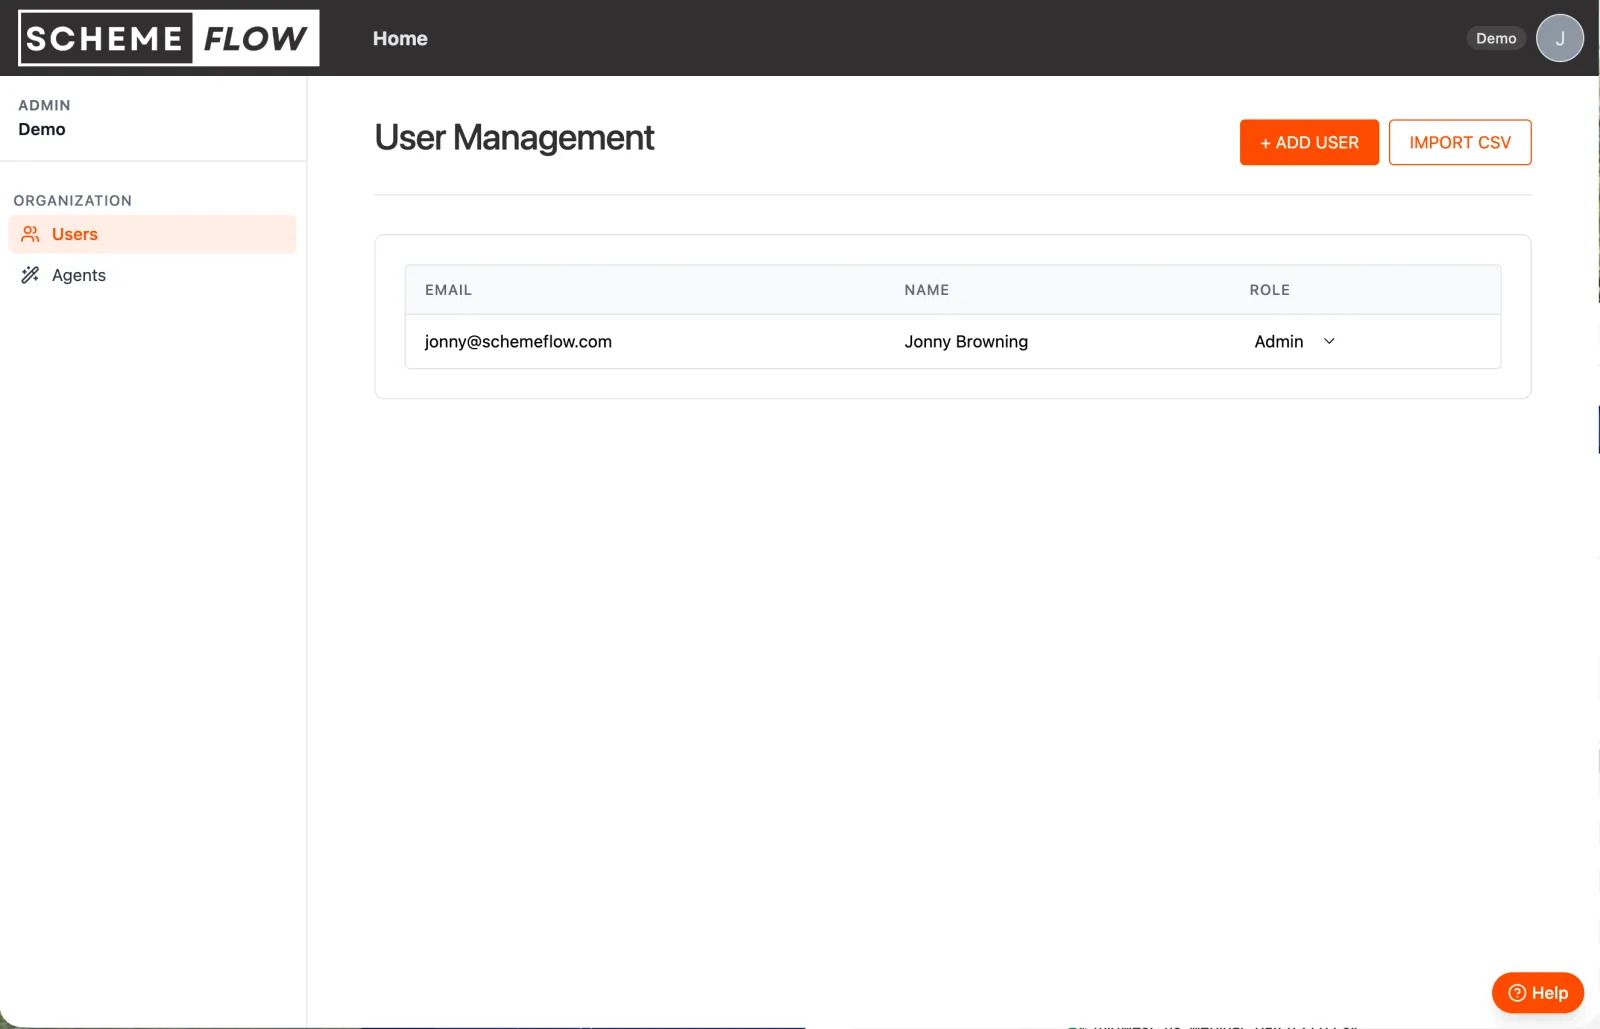
For each user, click on Add User and enter their details, then click Add User again. You will be asked to confirm the change to the number of seats. This will trigger an onboarding email for that user including a link that they can use to download the Word add-in.
Alternatively if you want to set up all the users at once, you can import a CSV file by clicking Import CSV. The CSV file should have two columns —
nameandemail. Once you have confirmed the changes, all of those users will be sent an onboarding email including the link to download the Word add-in.
TIP
The billing will be adjusted automatically when you add new users.